For many content markers, creating infographics in their content is a good idea to make the content more appealing. But how to make the infographics like a pro is sometime little difficult for many of the amateurs. Here, I decided to recommenced a simple-to-use infographic designer to those who is looking for such an application. It’s DesignCap.

As you know, infographics are an excellent way for displaying valuable content. It usually gets more shares and engagements because it is easy and fast to read. Let’s see how easy it is to create one with DesignCap to publish it on our website, blog, or social networks. I’m going to show you how to create an infographic design like a pro with DesignCap in only 3 steps.
Well, let’s start. When enter the DesignCap homepage. You will see there is a register option. It’s optional to register an account or not. But to use more features related to could-based, you’d better register one. It’s very quick to directly login your account with your Google account or Facebook account. Alternatively, you can register one with your email address. Then click “Get Started Now” button to choose a template.
1. Choose a template

After entering the template page, we can see there are numerous preset templates divided into many different categories like poster, flyer, YouTuber channel art, Facebook cover, Facebook post, logo, business card, brochure, initiation, infographic, etc.
We are going to choose a template from the numerous preset ones. DesignCap gives us thousands of preset beautiful templates which we can find one to meet our content needs. Go to the Infographic category and grab the slider beside the template list. You can browse all the template for infographics for different topics like education, business, technology, real estate, fashion, etc. You can also pick the idea one by checking its sub-categories. If you already get an idea in mind, it’s also OK to start one from scratch with a blank template.
2. Add personal touches to the design

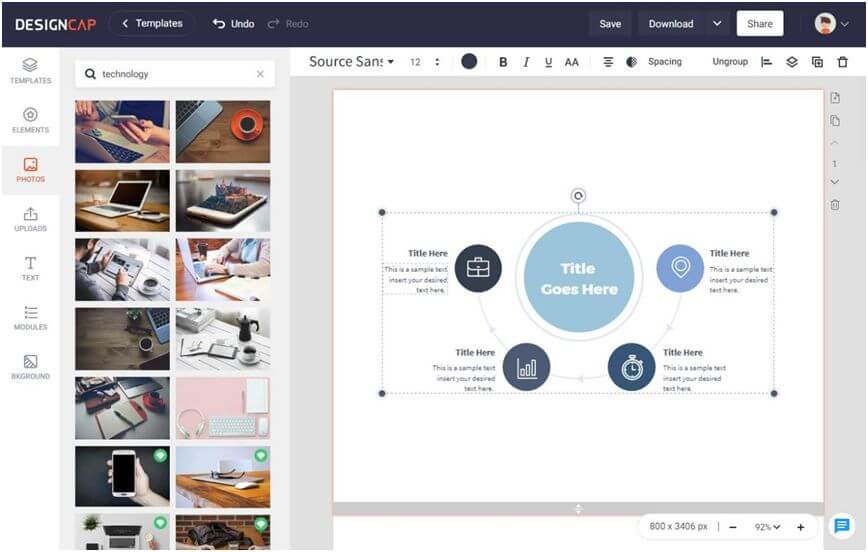
DesignCap allows you to add your own photos, elements, text, modules, and background to your graphic design. It’s easy to use the photos from DesignCap’s millions of stock photos. Type your keyword and press enter then you will find the specific one. Alternatively, click “Upload” tab at the left to upload your own photos. Once you upload your life photos online, it will save them under your account. You can use them next time when open the app.
All kinds of shapes and icons are offered in DesignCap. All the shapes built in DesignCap can be customized by adjusting its size, color, opacity, etc. In terms the icon section, just like its stock photos, all the icons can be searched by entering a specific keyword. And of course, modify the position of an element.
Text would be one of the most important part of a infographic. To get a quick edit, use the preset styles. Or you can change the font, color, spacing between letters, position, etc. manually. The module option is, in my optional, very cool for making the infographic more appealing.
Each time you select an item, the top menu appears with the different options. The bottom button that shows percentages. This button allows us to enlarge the display of the canvas to work more comfortably.
3. Use it anywhere
When you already have your infographic, you are allowed to save it under your account for re-editing next time or just print it out directly through the app. Downloading it in image format like JPG, PNG, PDF is also available in DesignCap. Besides, you can share the design on social media, website or blog with its sharing link.